The Dawson Proa Construction Method Part 1


.")


GALLERY | Click images to enlarge
Topher Dawson sends a report on his method of construction for SGIAN GHLAS, the proa featured in the previous article. It is as delightfully creative and sensible as the design itself. This is Part 1 of 2. -Editor
24’ Proa Construction Details
By Topher Dawson
Urethane foam core (Tricast 5) or other cores, with glass and polyester resin, makes for a strong, stiff and light panel. Nomex, carbon and epoxy would be stronger, stiffer and lighter but this boat does not need all that and the cost is eye watering.
This boat is made of flat or slightly curved panels with radiused joints. Harryproas are too, but using vacuum infusion and more expensive materials they achieve a better strength to weight ratio. My view is that if a hollowed out tree trunk can make a fast proa, we do not need carbon or epoxy.
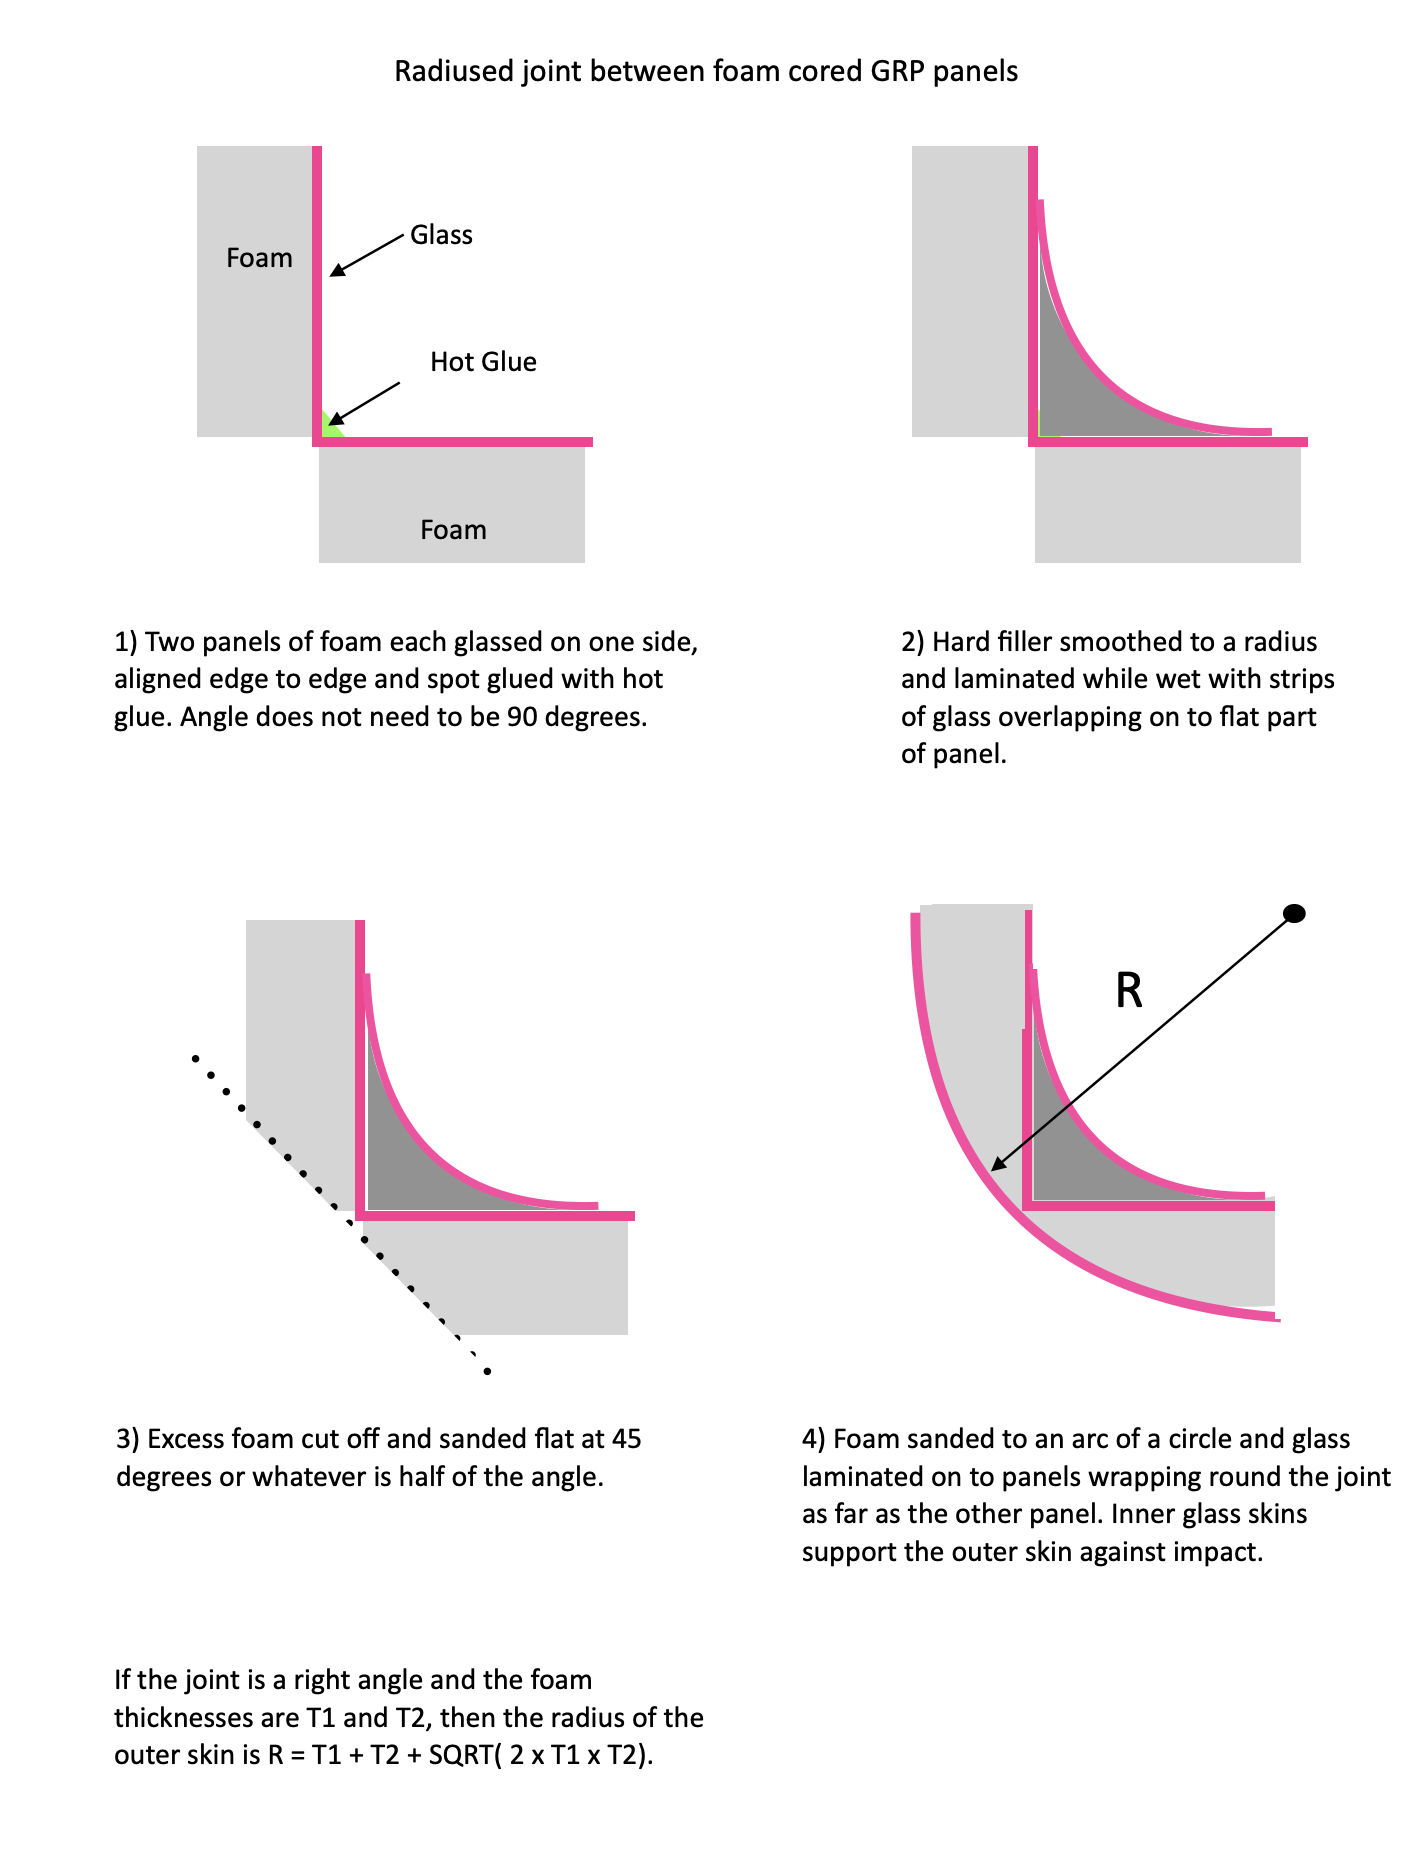
Structurally the hulls of this boat are monocoque, with all the strength, stiffness and impact resistance coming from the panels. There are no keels, frames or stringers. The joints are radiused full strength joints, with the same cored construction as the panels. The large radii smooth the flow a bit and are less draggy than sharp corners.
The panels allow a simple hull shape to be set up without moulds, using just temporary braces and hot glue. It’s quite a lot like traditional boat building except you can make your planks any size, stiffness and strength. In fact any plywood design could be made this way, and it would not biodegrade. It opens possibilities for one-off construction which conventional GRP moulding does not.
Sequence of construction for the main hull
See photos above.
- Make a flat table 24ft x 2ft out of MDF and coat it with a sacrificial film.
- Lay out three panels of 25mm foam 8ft by 2ft and hot glue them together with butt joints.
- Using a flexible batten of plastic conduit pipe, draw the tapering curves at each end and cut. Photo 1
- Glass the top surface with 400gsm chopped strand mat and 400gsm woven roving. Photo 2
- Lay this panel to one side (with glass only on one side it is floppy and weak).
- Make two side panels the same way.
- Make two pairs of bulkheads the same way. Drill bolt holes with big holes in the foam filled with hard filler to take bolt compression. (The noses will come off by bolting these together). Photo 3
- Hot glue and brace the bulkheads with 3mm packers between each pair so a saw can get between them. Photo 4
- Set up the sides vertical and straight. The bottom edges of the sides are raised off the table 25mm with scrap foam so only the extreme edges of the sides and bottom touch. Temporary bulkhead amidships to keep the max beam.
- Spot glue with hot glue and brace upright. Photo 5
- Make radiused filler and glass joints on all inside corners.
- Now the hull is stiff enough to cut the noses off between the bulkheads. Noses stored for later. Photo 6
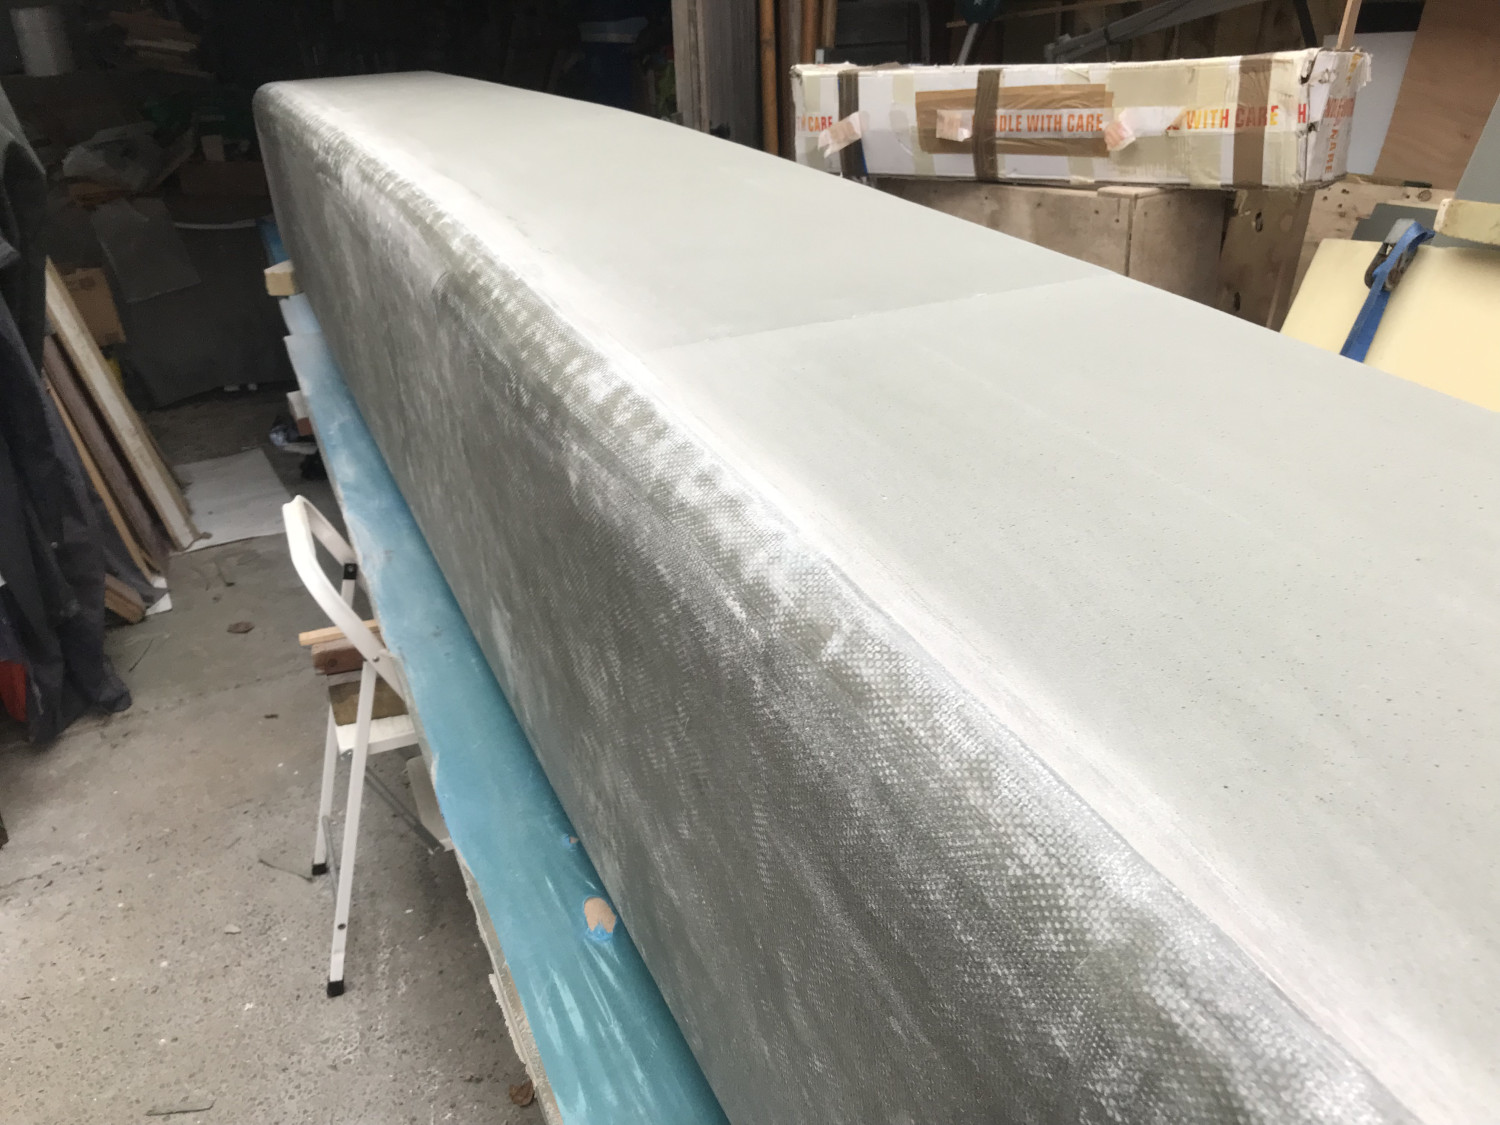
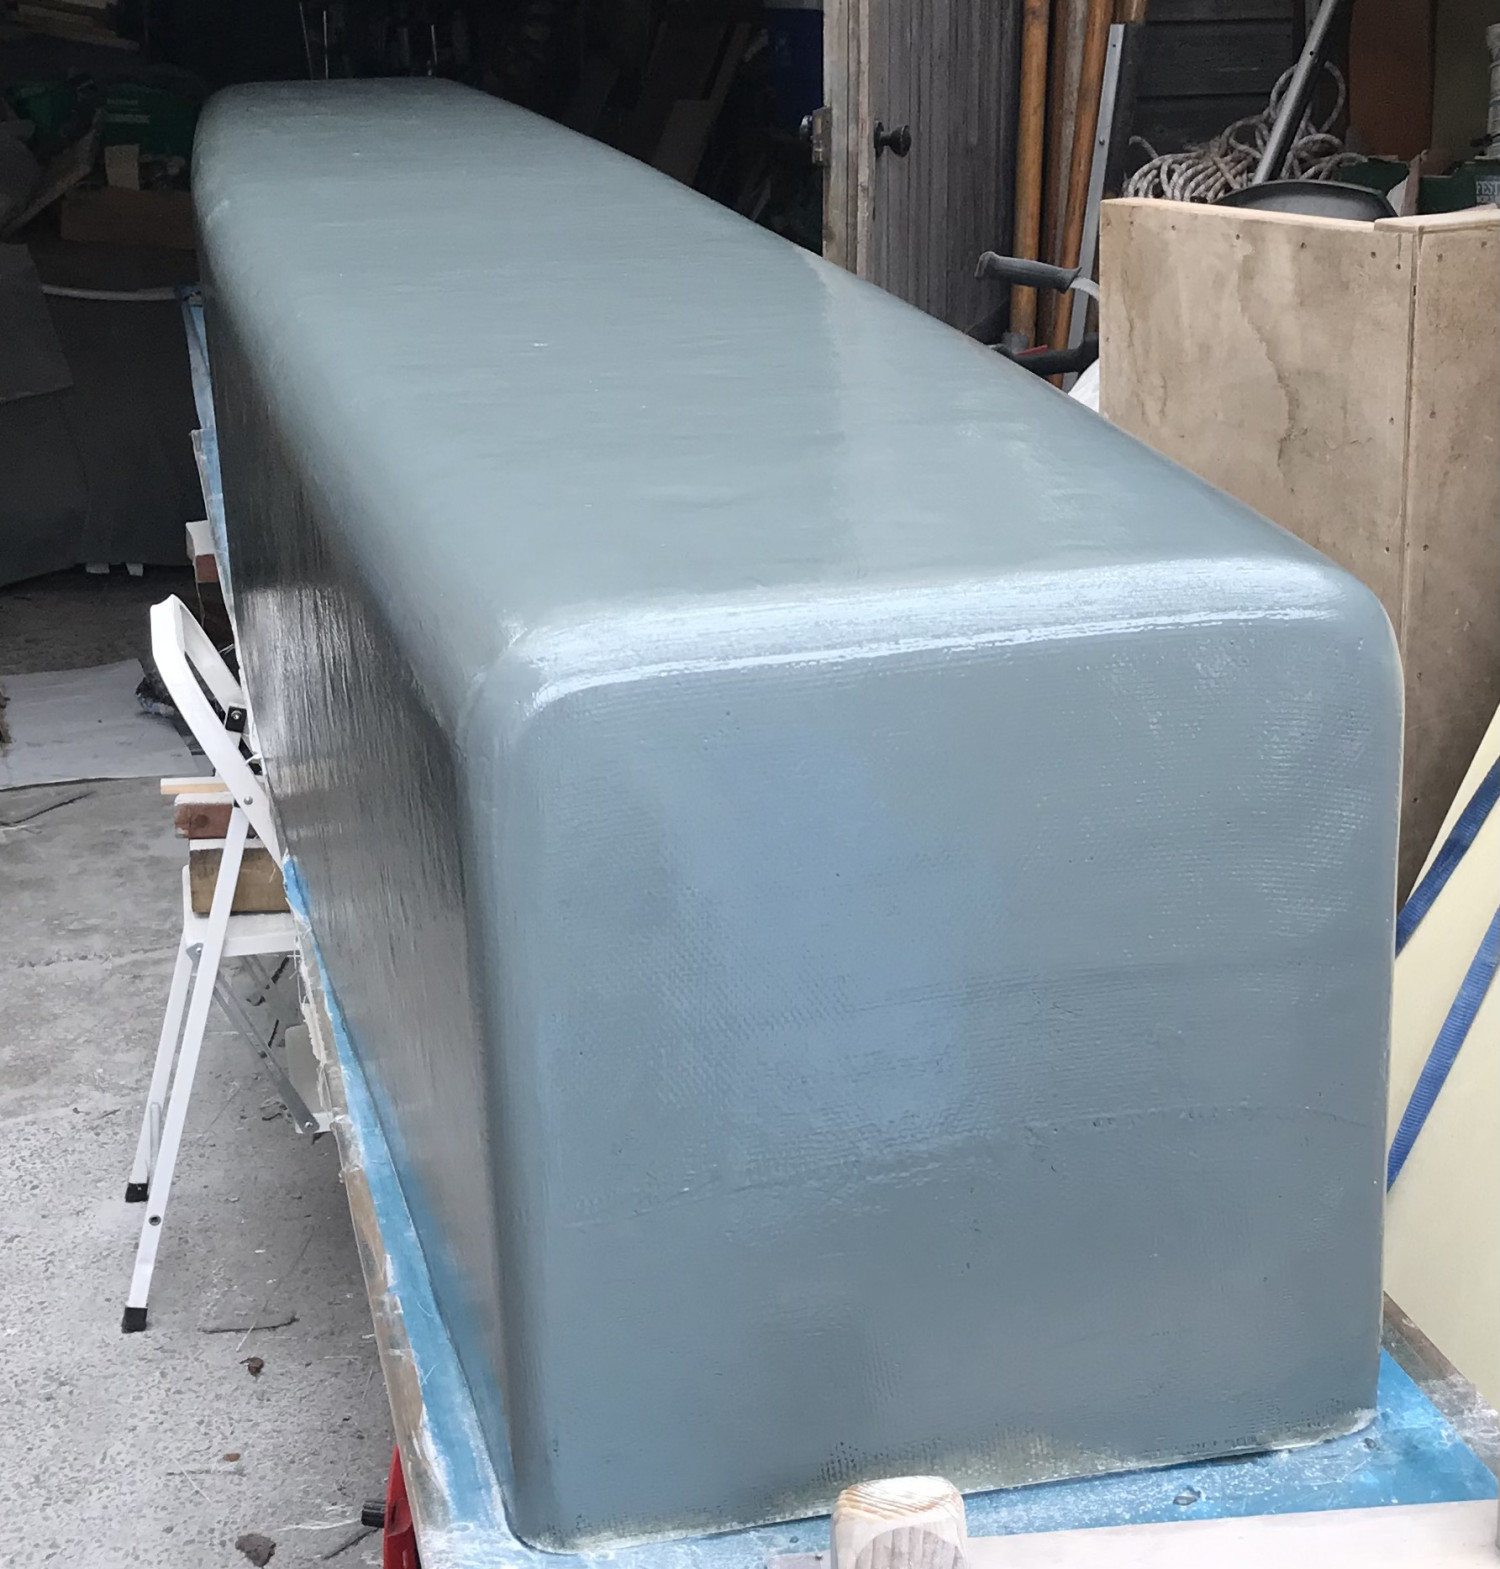
- Main hull is now turned over and the external corners I.e. chines, rounded and glassed. Photo 7
- Bulkhead/side and bulkhead/bottom joints are also rounded and glassed. This means that the glass of both inner and outer skins rounds the corner of the side/bulkhead or bottom/ bulkhead and is gripped by the bolts holding the two bulkheads together. Photos 8, 9, 10, 11
- Hull turned right way up and the seat panels are now made and hot glued in place. Photo 12
Part 2 coming soon.

Our builds are eerily similar.
20’ x 3’ layout table (3 h.c. door panels)
1/2” Gpet foam, 9 oz tooling cloth (should have been 12 oz biaxial),
epoxy.
Hull, without rudders currently weighs ~ 170#
Only downside besides slightly more cost than good ply
construction is more time to build though age also is a factor 😉